UVE allows you to create testbenches in a very simple and efficient way. In just a few steps, you will be up and running.
Here are the five simple steps you need to know to create your own testbench:
Step 1:
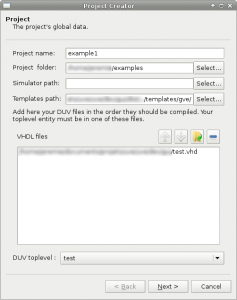
Click on the “Create New Project” button in the Tool Bar and you will be provided with a simple window. Here you can set the name and the directory of the project, the simulator path and list all needed VHDL files.
Step 2:
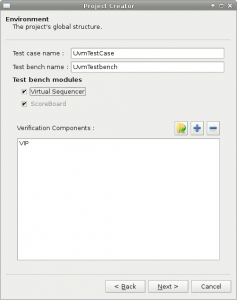
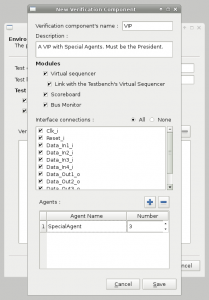
The next step allows you to load existing Verification Components, or create your own.
The screenshot below shows how to create your own.
Step 3:
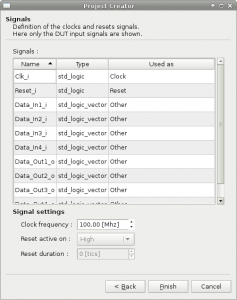
Finally, you will need to set up the signals for your project. All DUV I/O signals are listed here and, whenever possible, are already configured.
Step 4:
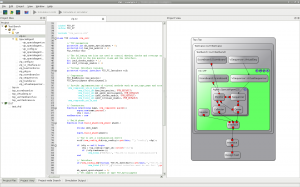
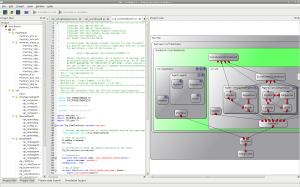
After generating the appropriate SystemVerilog files, UVE presents you with your project. On the left, a tree offers access to all files in the project, following the VIP hierarchy. On the right, a visual representation of the project will help keep track of its structure. In the middle, you will find a tabbed view of all opened files. All generated files come with TODO tags, allowing quick access to where you will need to personalize your testbench.
Step 5:
Finally you can simulate your testbench with a single click on the “Simulate” button in the ToolBar.

